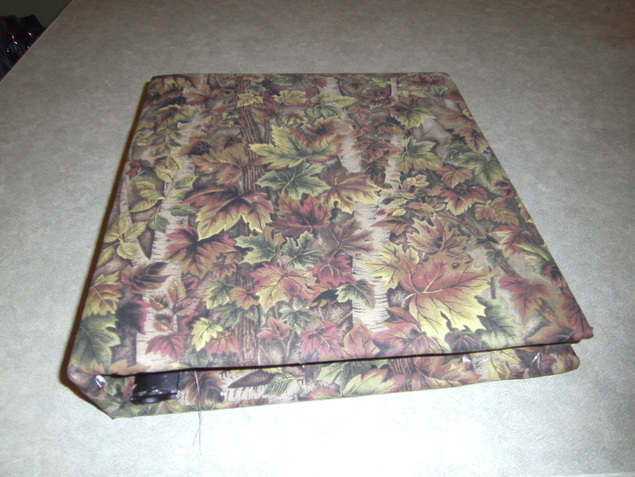
Fabric Covered Album
I made these albums many years ago and almost forgot how. When I went on a search for instructions I couldn't find any that I liked,
so I set about to make my own tutorial. This album is just plain & simple. You can add lace, ribbons all kinds of accessories to decorate.
You will need:
at least a 1/2 yard of fabric (more for a larger notebook)
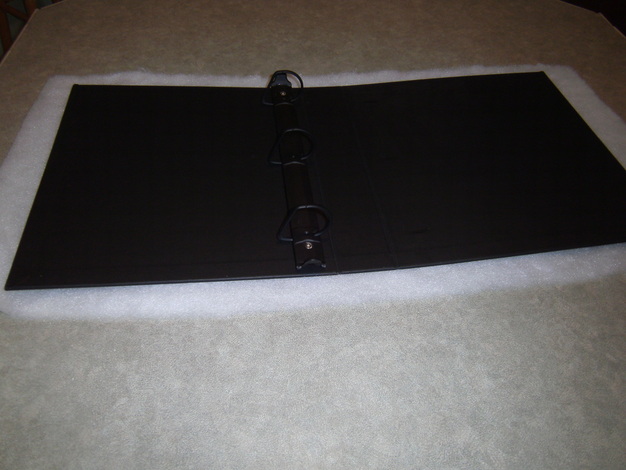
A note book of your choice
Cotton Batting
Tacky Glue
Cardboard
clothes pins
optional: Double faced tape
so I set about to make my own tutorial. This album is just plain & simple. You can add lace, ribbons all kinds of accessories to decorate.
You will need:
at least a 1/2 yard of fabric (more for a larger notebook)
A note book of your choice
Cotton Batting
Tacky Glue
Cardboard
clothes pins
optional: Double faced tape
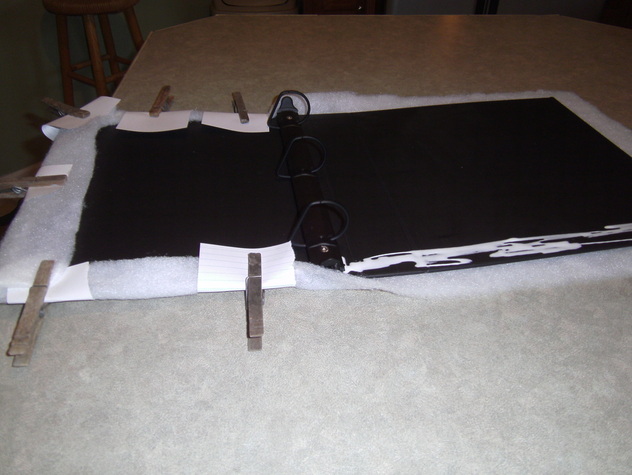
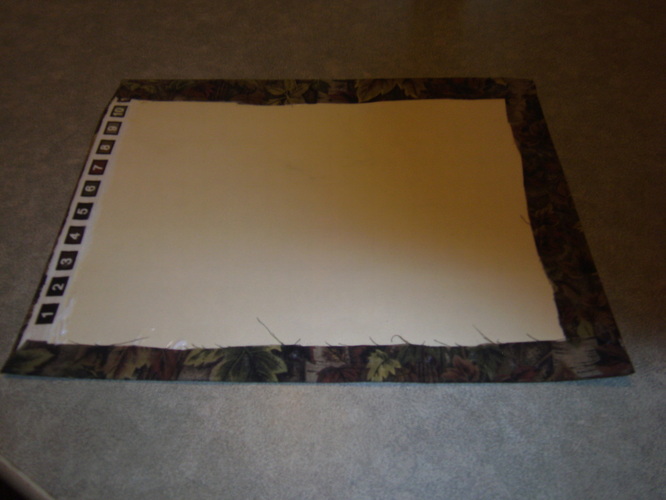
Step 1. Cut batting a bit larger then your note book. About 2" on the sides and at least 1 1/2" at top & bottom.
Step 2. You will be lightly gluing the front and insides to fold around the tops, bottom & sides.
Take some cardboard, fold it over and with clothes pins, clip in place to set the glue. Let this dry a few hours or overnight.
Take some cardboard, fold it over and with clothes pins, clip in place to set the glue. Let this dry a few hours or overnight.
Step 3. Remove the clips. Cut your fabric larger then the batting. Fold over top & bottom first.
Glue in place, tuck fabric under the metal ends with a knife. Then glue sides. Add your cardboard & clips again like you did with the batting.
Glue in place, tuck fabric under the metal ends with a knife. Then glue sides. Add your cardboard & clips again like you did with the batting.
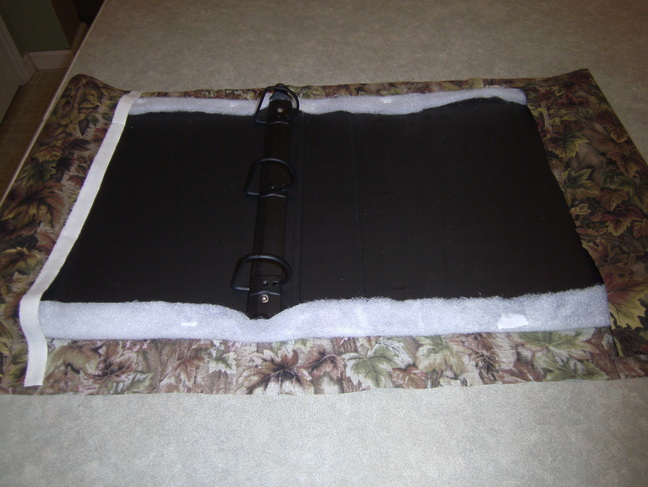
Step 4: Cut 2 2 1/2" strips to be glued next to the rings and tucked under the metal. (no batting there)
(those white spots are where the cardboard stuck to the fabric, they are easily wiped off with a wet cloth)
(those white spots are where the cardboard stuck to the fabric, they are easily wiped off with a wet cloth)
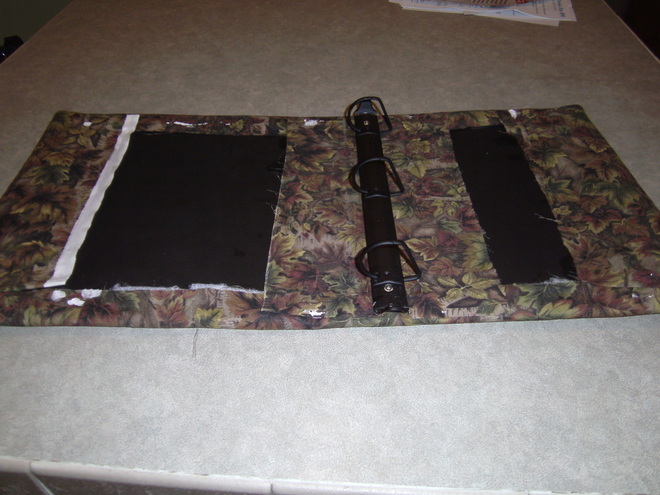
Step 5: Measure your empty space for a piece of cut cardboard, add a little extra all around.
Cut your fabric at least a 1" bigger then the cardboard in order to fold over & glue. You can use double faced tape instead of glue if you prefer. You will need to clip and hold all around these center pieces if using glue, then let dry.
Cut your fabric at least a 1" bigger then the cardboard in order to fold over & glue. You can use double faced tape instead of glue if you prefer. You will need to clip and hold all around these center pieces if using glue, then let dry.
step 6: Place the cardboard in that empty space & glue. Clip again & let dry. (The other side I just used a cut piece of felt, no cardboard.)
At point if you wanted to add lace or a ribbon you would do it before gluing in the middle pieces. You can add ribbon at each end (under the middle pieces) for tying together the album.
At point if you wanted to add lace or a ribbon you would do it before gluing in the middle pieces. You can add ribbon at each end (under the middle pieces) for tying together the album.
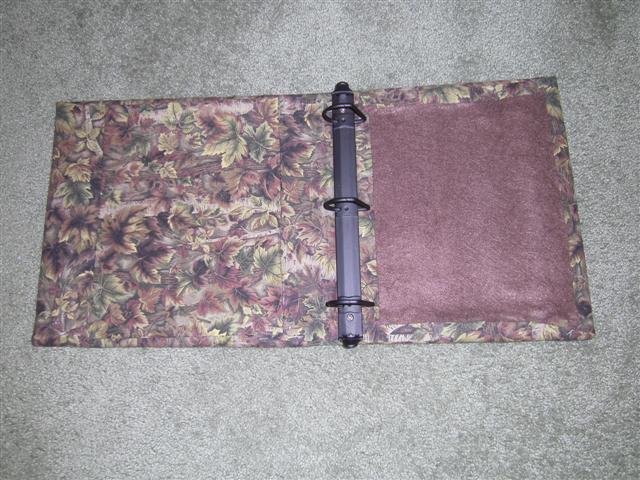
Step 7: Your done! Now you can add extra decorations or just the pages, indexes or photo insert pages.